10 Easy DIY Hacks to Upgrade Your Home Decor
Home is where the heart is, and with these easy and affordable DIY hacks, you can transform your space into a stylish and comfortable haven. Here are 10 DIY hacks to upgrade your home decor:
1. Paint a Statement Wall
A statement wall can completely transform a room. Choose a bold color or pattern and let your creativity shine. Here's a guide on how to do it right.
A Guide on How to Create the Perfect Statement Wall:
1. Choose the Right Wall
The statement wall should serve as the room's focal point. Consequently, select a wall that is strategically placed and spacious enough to create an impact.
2. Decide on the Right Color or Pattern
The color or pattern of the statement wall ought to be bold and catch the eye. If you are unsure about which color to pick, consider using a color wheel to help you choose complementary colors.
3. Prepare the Wall
Ensure that the wall is clean, dry, and free from any cracks or imperfections. If the wall has already been painted, you might need to prime it before applying the statement wall color.
4. Paint the Wall
Apply two layers of paint, allowing the first coat to dry fully before applying the second one.
5. Accessorize the Wall
Once the paint has dried, you can add accessories to enhance the statement wall. These could include framed art, framed shirts, mirrors, or even plants.
Additional Tips for Painting a Statement Wall:
- Opt for high-quality paint for durability.
- Use a paint roller to achieve a smooth finish.
- Be cautious not to over-paint, as it can result in a streaky finish.
- Allow the paint to dry fully before adding any accessories.
2. Update Old Furniture with Contact Paper
Update the look of old furniture by covering it with adhesive contact paper. It comes in various designs, including wood, marble, and more. Here's a tutorial on creating a marble top coffee table with contact paper.
Tutorial: Creating a Marble Top Coffee Table with Contact Paper
1. Select the Right Contact Paper
There are many varieties of contact paper on the market, so pick one suitable for the surface you are working with. For instance, if you're covering a wood surface, a contact paper designed for wood is recommended.
2. Measure Your Surface
To know how much contact paper you need to purchase, accurately measure the surface you intend to cover.
3. Clean Your Surface
Make sure your surface is clean, dry, and free from any dust or dirt for optimal adhesion.
4. Apply the Contact Paper
Begin by sticking the contact paper to one corner of the surface. Use a squeegee to smooth out the contact paper and eliminate any air bubbles.
5. Trim Excess Contact Paper
Once the contact paper is in place, utilize a sharp knife to trim away any excess material.
Additional Tips for Refurbishing Old Furniture with Contact Paper:
- Opt for a high-quality contact paper for long-lasting results.
- Avoid stretching the contact paper too much, as it might create wrinkles.
- If you're covering a curved surface, a heat gun may be necessary to help the contact paper adhere to the contours of the surface.
3. Create a Gallery Wall
A gallery wall is an excellent way to display your favorite photos or artworks. You can play with different layouts and frame styles to create a unique look. Here are some tips and tricks from Apartment Therapy
How to Create Your Own Gallery Wall
1. Choose Your Photos or Artworks
The photos or artworks you select will determine the overall aesthetic of your gallery wall. This is a crucial step in the process, so choose wisely.
2. Gather Your Frames
Using frames of various styles and sizes can create an eclectic look, or you can opt for frames that are of the same style and size for a more cohesive appearance.
3. Decide on a Layout
There are countless ways to arrange a gallery wall. Take time to experiment with different layouts until you find one that suits your taste.
4. Mark the Wall
Once you've settled on a layout, use a pencil to mark the spots on the wall where you want to hang your photos or artworks.
5. Hang Your Photos or Artworks
Use a level to ensure that your photos or artworks are hung straight. If needed, make adjustments.
Additional Tips for Creating a Gallery Wall:
- Use a variety of sizes and shapes to create visual interest.
- Don't hesitate to mix and match frames for a unique look.
- Employ a color scheme to tie the gallery wall together.
- Hang the gallery wall at eye level for optimal viewing.
4. Repurpose Mason Jars
Mason jars are not only for canning but also make charming vases, candle holders, or storage containers.
Mason jars can serve as excellent vases for both fresh and dried flowers. They can also be utilized to create eye-catching centerpieces or tablescapes. Mason jars can be transformed into perfect candle holders. They offer a variety of decorating options like painting, adding stencils, or even decoupaging. Mason jars can be ideal storage containers. They are suitable for small items like screws, nails, or jewelry, as well as food items like jams, jellies, or chutneys. With a little bit of imagination, mason jars can be easily repurposed into attractive and useful items.Creative Ways to Repurpose Mason Jars
1. Use Them as Vases
2. Mason Jar Repurposed as a Candle Holder
3. Mason Jar Repurposed as a Storage Container
Additional Tips for Repurposing Mason Jars:
5. DIY Rope Basket
Create your own stylish and functional rope basket for storage. It's surprisingly easy and cheap.
Start by gathering a few basic supplies such as rope, a hot glue gun, and scissors. Cut the rope into several equal lengths. The length will depend on the size of the basket you want to make. Begin by weaving the rope around a central point, creating a spiral pattern by weaving the rope in and out. As you weave the rope, use a hot glue gun to secure it in place. This will contribute to the sturdiness of the basket. Once you have reached your desired size, finish the basket by gluing the ends of the rope together.DIY Rope Basket Guide
1. Gather Your Materials
2. Cut the Rope
3. Start Weaving the Rope
4. Glue the Rope in Place
5. Finish the Basket
Additional Tips for Making a DIY Rope Basket:
6. Add a Touch of Greenery
Indoor plants not only purify the air but also add life to any space. Choose low-maintenance plants if you're new to gardening. Here are some of the best indoor plants to consider.
Top Indoor Plants to Consider for Your Home
Indoor plants not only purify the air but also add life to any space. If you're new to gardening, opt for low-maintenance plants. Here are some of the best indoor plants to consider:
1. Snake Plant
This plant is known for its ability to thrive in low-light conditions, making it a great choice for apartments or homes with limited natural light.
2. ZZ Plant
Another low-light plant, the ZZ plant is also very drought-tolerant, making it a great choice for people who forget to water their plants.
3. Spider Plant
Spider plants are easy to care for and are known for their air-purifying abilities. They can also be easily propagated, so you can share your green thumb with friends and family.
4. Pothos
Pothos is another versatile plant that can tolerate a wide range of conditions. It's a great choice for hanging baskets as its trailing vines can add a touch of greenery to any space.
5. Fiddle-leaf Fig
Fiddle-leaf figs are popular for their large, dramatic leaves. However, they can be a bit more demanding than some of the other plants on this list. If you're willing to put in the effort, a fiddle-leaf fig can be a stunning addition to your home.
With so many different indoor plants to choose from, you're sure to find the perfect one to add a touch of greenery to your home.
7. DIY Wall Art
Creating your own wall art is a fun and cost-effective way to personalize your home. Use materials you already have at home or repurpose thrift store finds. Here are some DIY wall decor ideas for inspiration:
Create Your Own DIY Wall Art
With a little creativity, you can easily create DIY wall art that adds personality and style to your home. Here are some options:
1. Framed Photos
This is a classic way to add personal touches to your walls. You can frame photos of your family and friends, or use photos that you've taken yourself.
2. Canvas Art
Canvas art is another popular option. You can buy blank canvases and paint your own designs, or find canvases with pre-printed designs.
3. Macrame
Macrame is a type of textile art that is made by knotting yarn or string. You can make macrame wall hangings, coasters, and other decorative items.
4. Upcycled Art
This is a great way to give new life to old objects. You can use old frames, thrift store finds, or even recycled materials to create unique and eye-catching wall art.
Additional Tips for Creating DIY Wall Art
- Use a variety of materials. You can use anything from paint and canvas to yarn and wood to create your own wall art.
- Be creative. Don't be afraid to experiment with different techniques and designs.
- Have fun! Creating DIY wall art should be a fun and enjoyable process.
8. Throw Pillow Upgrade
Switching out your throw pillow covers is a quick and easy way to refresh your space. Consider sewing your own for a personalized touch. Here's a simple guide to make an envelope pillow cover.
Create Your Own Envelope Pillow Cover
With a little sewing know-how, you can easily make your own envelope pillow cover that adds a touch of personality to your home. Here are the steps:
1. Measure Your Pillow
You will need to know the width, height, and thickness of your pillow to make sure that your pillow cover fits properly.
2. Cut Out Your Fabric
You will need two pieces of fabric that are the same size as your pillow.
3. Sew the Fabric Together
Sew the two pieces of fabric together, leaving a small opening at the bottom for turning.
4. Turn the Pillow Cover Right Side Out
Once the pillow cover is sewn together, turn it right side out so that the pretty side is facing out.
5. Sew the Opening Closed
Sew the opening closed, either by hand or by machine.
6. Insert Your Pillow
Once the opening is closed, insert your pillow into the pillow cover.
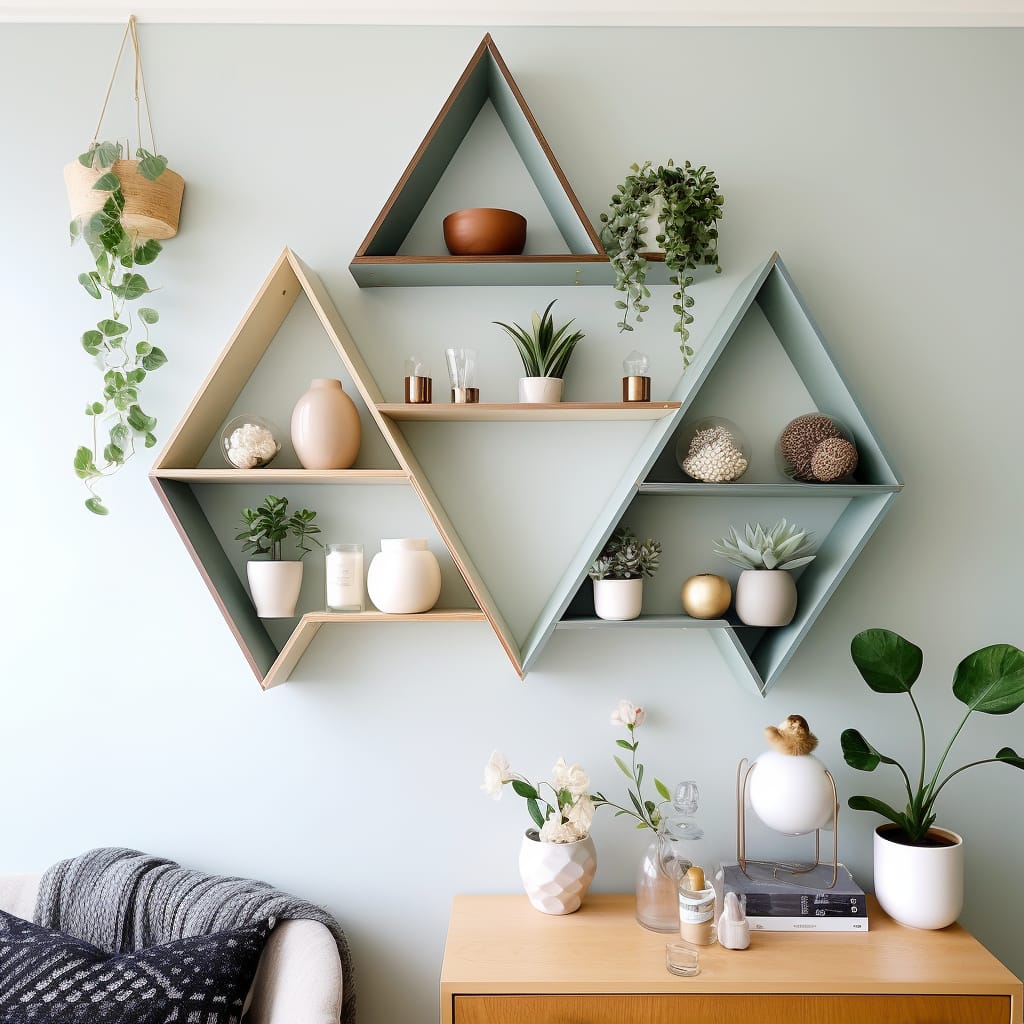
9. DIY Shelves
Add extra storage and display space by installing DIY shelves. They are surprisingly easy to make and can be customized to fit your decor style. You could follow one of these templates from Bob Vila on how to make DIY shelves.
DIY Shelves: A Step-by-Step Guide
Looking to add some custom storage to your space? Here's how to make DIY shelves:
1. Choose Your Materials
You will need wood, screws, a saw, and a drill. You can also use other materials, such as plywood or MDF.
2. Cut the Wood to Size
Measure the space where you want to install the shelves and cut the wood to size.
3. Assemble the Shelves
Screw the wood together to form the shelves.
4. Install the Shelves
Mark the wall where you want to install the shelves and drill pilot holes. Then, screw the shelves into place.
5. Add Finishing Touches
You can paint or stain the shelves to match your decor. You can also add trim or molding to give the shelves a more finished look.
10. Reupholster Old Chairs
Give your old chairs a new lease on life by reupholstering them. This is a great way to update the look of your furniture and add a touch of personality.
Here's how to reupholster old chairs:
1. Remove the Old Fabric
Carefully remove the old fabric from the chairs. You may need to use a seam ripper to get the fabric started.
2. Measure the Chairs
Once the old fabric is removed, measure the chairs so that you can order new fabric.
3. Choose Your Fabric
There are many different fabrics to choose from, so take your time and find a fabric that you love.
4. Cut the New Fabric
Cut the new fabric to size, making sure to add a few inches for seam allowances.
5. Sew the New Fabric to the Chairs
Sew the new fabric to the chairs, using a sewing machine or a needle and thread.
6. Add Finishing Touches
You can add trim or piping to the chairs to give them a more finished look.